I cannot resist a Valentine pun. They're my absolute favorite. (See pizza, sock, and olive Valentine cookies from previous years for proof.) Also irresistible are the We Go Together-theme cookies, like the "you're the mushroom to my swiss" cookies from last year.
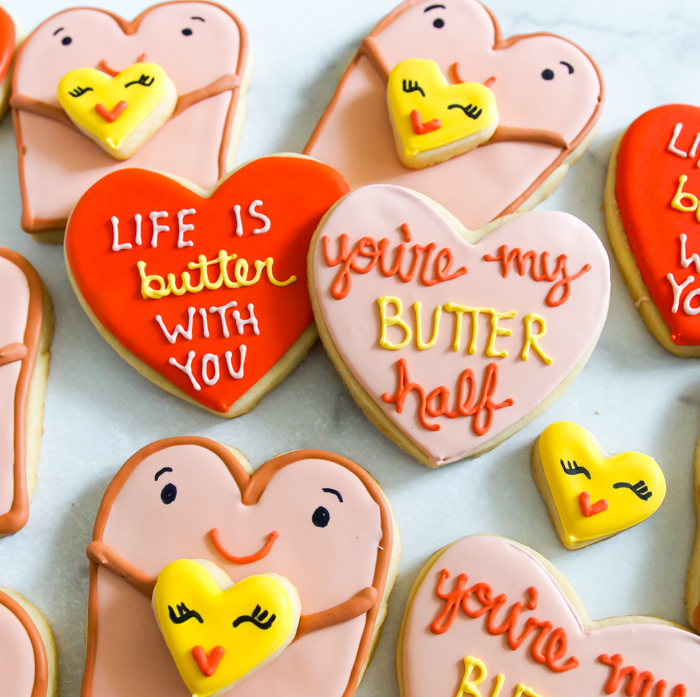
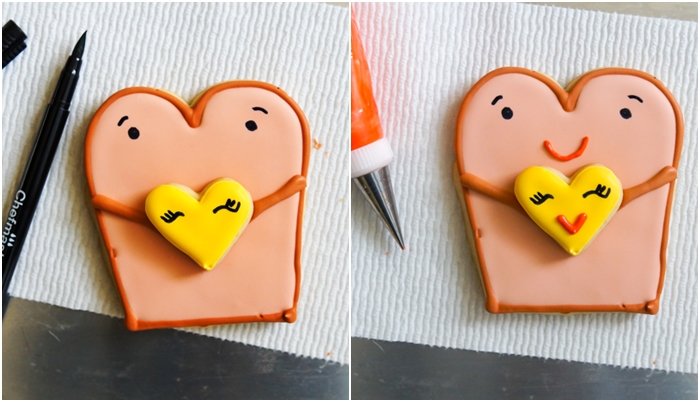
These toast and butter cookies fit both categories - and I love them so much. Maybe not a coincidence that buttered toast is my ultimate comfort food. Just look at that sweet little toast smile!
Life is BUTTER with you!
You're my BUTTER half!
Add some punny sayings to heart cookies or just write them on a card to go with the toast and butter cookies. This set was inspired by a Papyrus greeting card I saw at Target. The Target greeting card section is full of cute and whimsical cookie inspiration!
To make Life is BUTTER with you/You're my BUTTER half cookies, you'll need:
- perfect every time cut-out cookies
- toast/bread and mini heart cookie cutters (OR pretzel and back pocket or house cutters, see below)
- royal icing, tinted in two shapes of brown, yellow, and red (I used AmeriColor warm brown, electric yellow mixed with egg yellow, and ChefMaster tulip red)
- disposable icing bags
- icing coupler and tips: #6, #2
- squeeze bottles
- toothpicks
- black food coloring pen
How to Make Toast and Butter Valentine Cookies
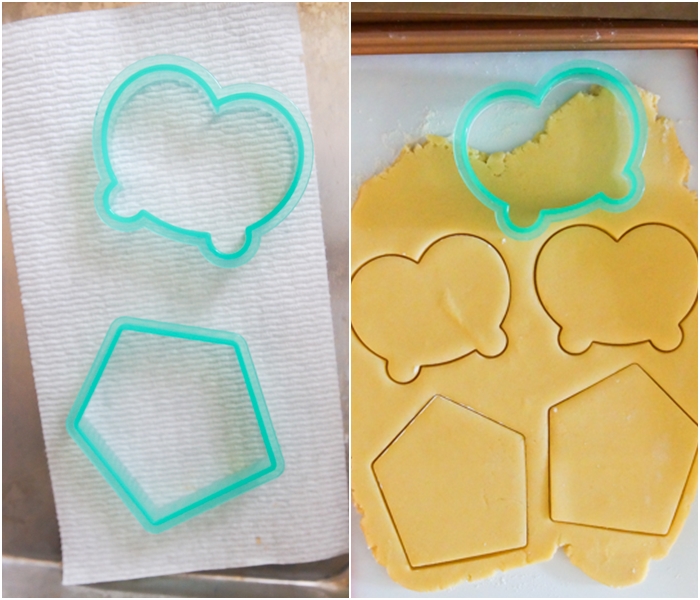
This all starts with "Frankensteining" a cookie. In the cookie world, to Frankenstein a cookie means to piece together two different cookie cutters to make a new shape.
Here I used pretzel and pocket or house-shaped cookie cutters from Sweet Sugarbelle's cookie cutter line to make a toast shape.
Roll the dough to the same thickness and cut out the shapes.
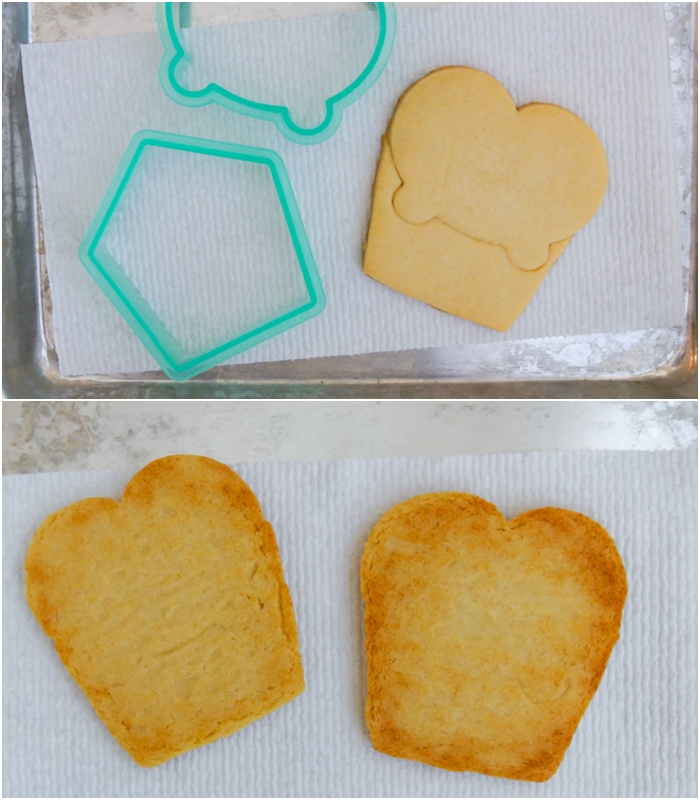
Then, use one cookie cutter to cut into the other so that the shapes will nest well. In this case, I used the pretzel to cut into the pocket cut-out. Next, place the pretzel shape into the cut-out.
The key is to freeze these put-together shapes for 5-10 minutes before baking. The cookies will fuse together as they bake. You'll be able to see the shapes on the top of the cookies (Don't worry, you'll cover them in icing), but check out the bottoms! You can hardly see where the two different shapes were. They're one cohesive cookie now!
Let them cool, and let's decorate!
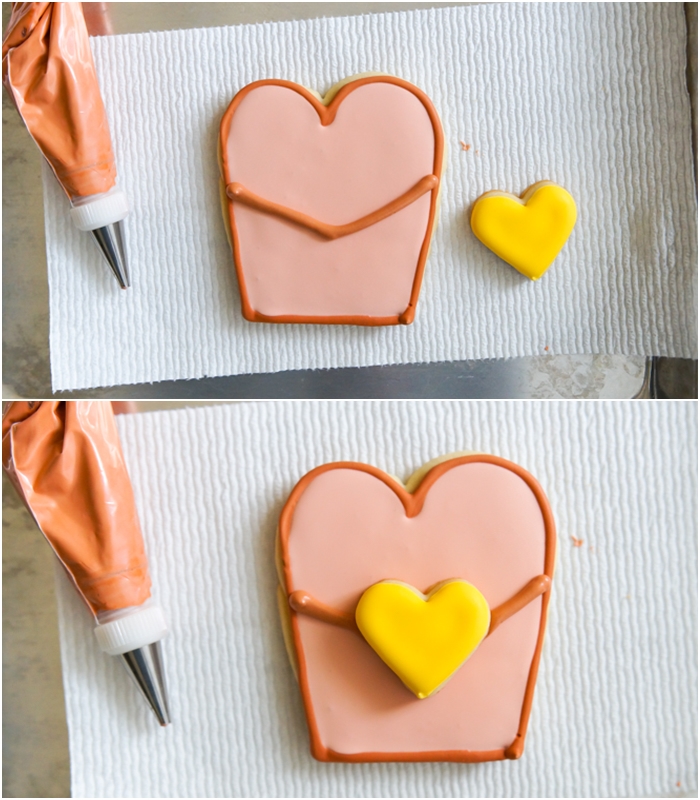
Use a #6 tip to outline the toast in the darker brown shade. We're using a larger tip here than usual because we want the "crust" to show.


